Products & Services
News

Our Business
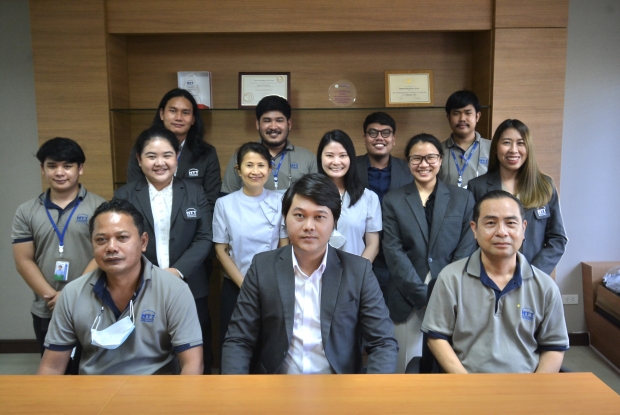
Our company consists of 6 sales divisions and 3 subsidiaries
with each business unit provide products/service to varied target customers by their individual teams under self-management. Meanwhile, all teams are interrelated by offering supports and helps to each other.
We believe that there’s no single formula for success and those who succeed are not necessary the strongest but well-adjusted. Our guideline in running the business is integrating good things and modifying properly, by which, we have been building up our company culture a blend of “Spare no effort” like Chinese; Work in an orderly way like western people; Be brimful of kindness and magnificent courtesy like Thai, with the intention of providing our honored customers warm and just-in-time service.
History of HTT
Educational Technology Division (ETD) is intended to establish in order to promote the teaching of educational institutions, both private and government use of new technologies to look forward to learning systems to be more efficient but still the teaching original format is controlled by the professor teaching the same. The products are also available in a variety of presentations or meetings as well.
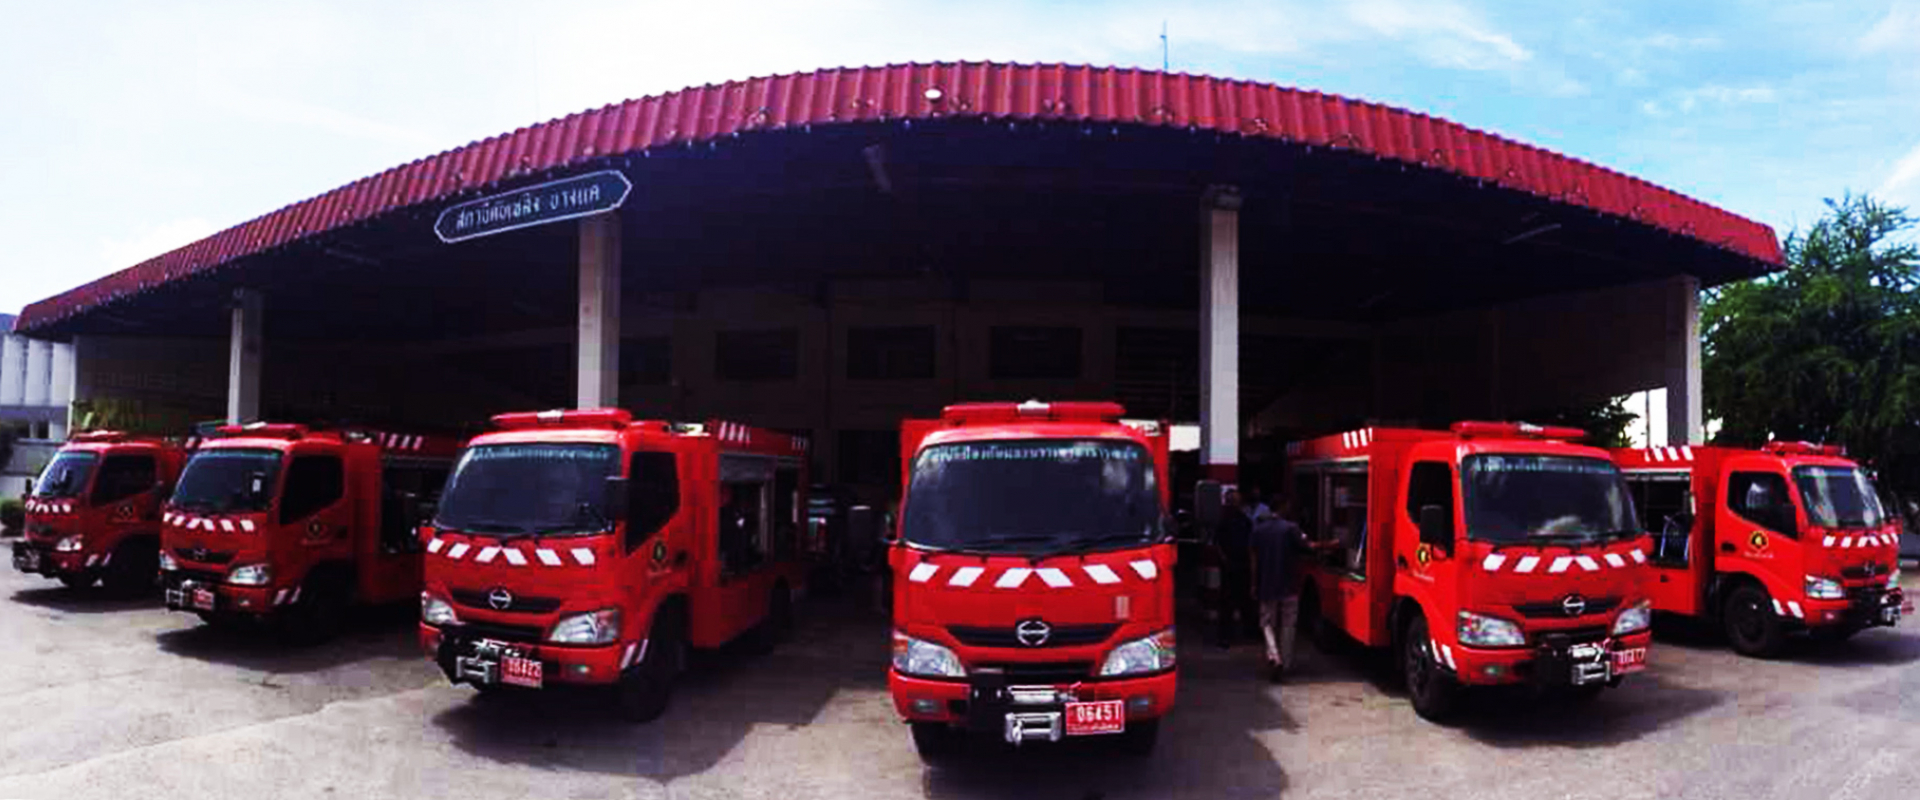
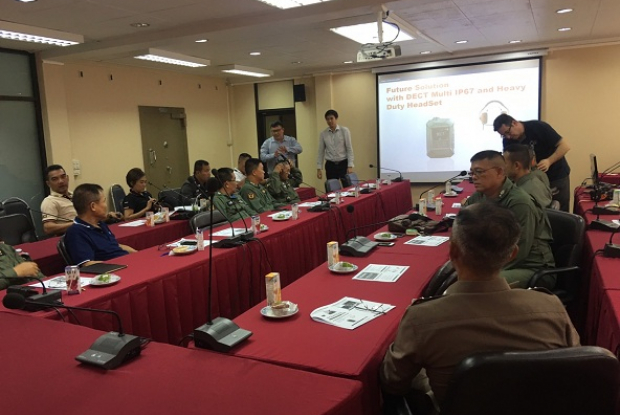
DEFENTEC is a subsidiary company of Hollywood International Ltd. Defentec Ltd. was established since 1997. We specialize in high-tech military equipment currently deployed in the Royal Thai Army, Royal Thai Navy, Royal Thai Air Forces, Royal Thai Armed Forces Headquarters, Royal Thai Police and many others. Our reputation is well-respected by our customers based on our sales and technical experience, our professionalism and our customer service.
Global Instech Ltd. was founded in 1995 as subsidiary company of Hollywood International Ltd. We represent ourselves as Project Consultant, System Integrator as well as Service Provider to support our customers with total solution.
Global Instech Ltd. has been developing specialized team with remarkable skill to serve our customers for both government and private sectors to highest extend. Our reputation has been well accepted by customers based on our sale experience, reliability, sincerity with the aim to achieve customers’ highest satisfactory.
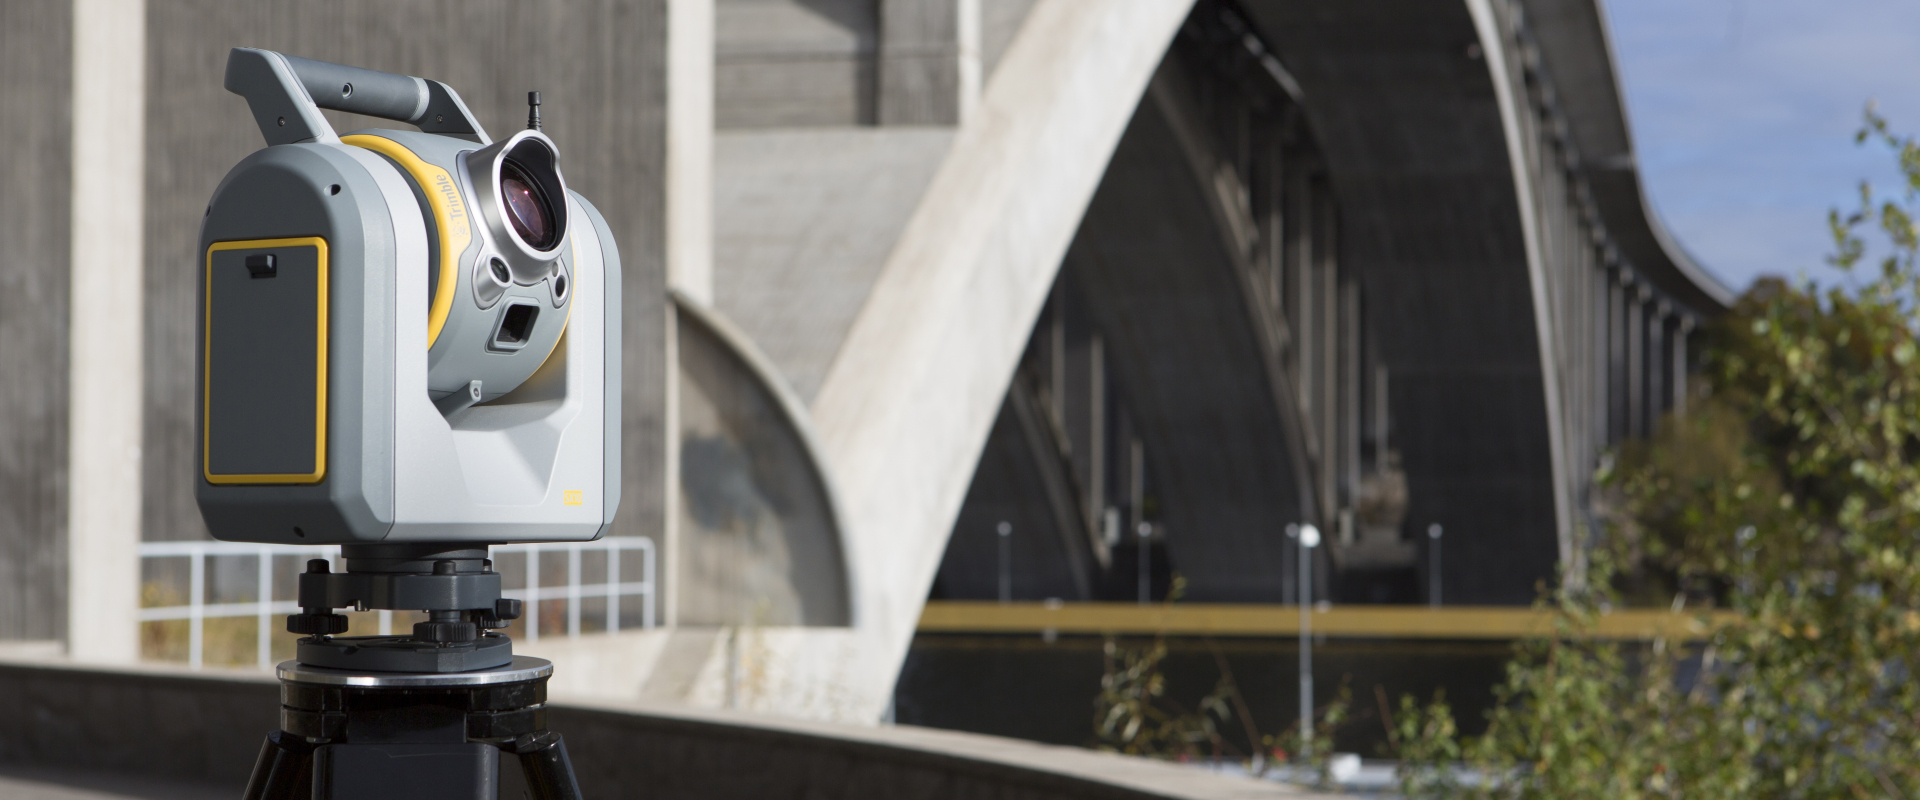
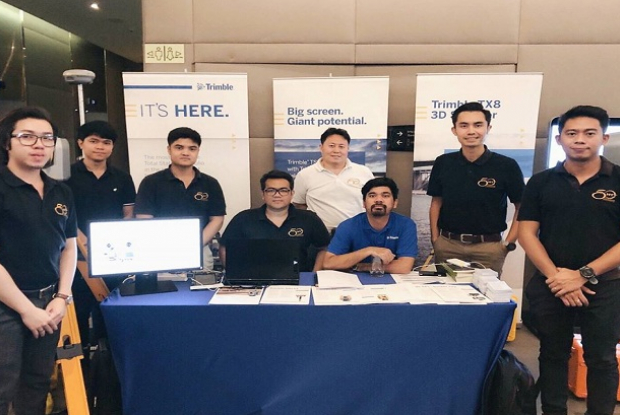
Surveying Instruments Division is established in 1987 with marketing Nikon surveying instruments from Japan, such as level telescope, theodolite and Total Station. In order to meet the need of our customers, we have extended our market share with other instruments such as Trimble geographic surveying instruments from the USA.
We are executive distributor of well known surveying products such as : NIKON: Surveying Instruments
and TRIMBLE(USA): Surveying Instruments, GPS
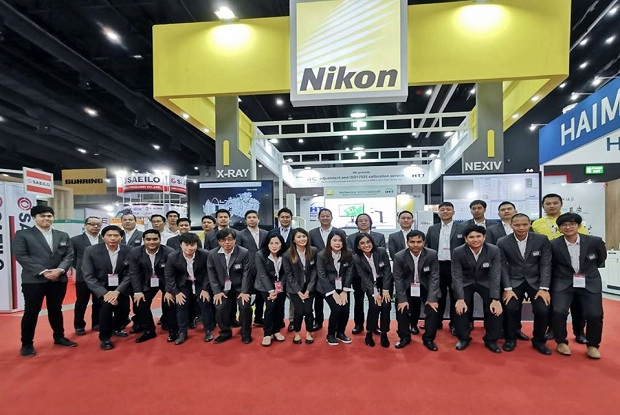
Industrial Instruments Division is very proud of the country-wide customers’ trust we have won in the products and services we have provided to, of which the various industrial sections are: Semiconductors, Hard Disk, Electronics, Automotive and Heavy industry.
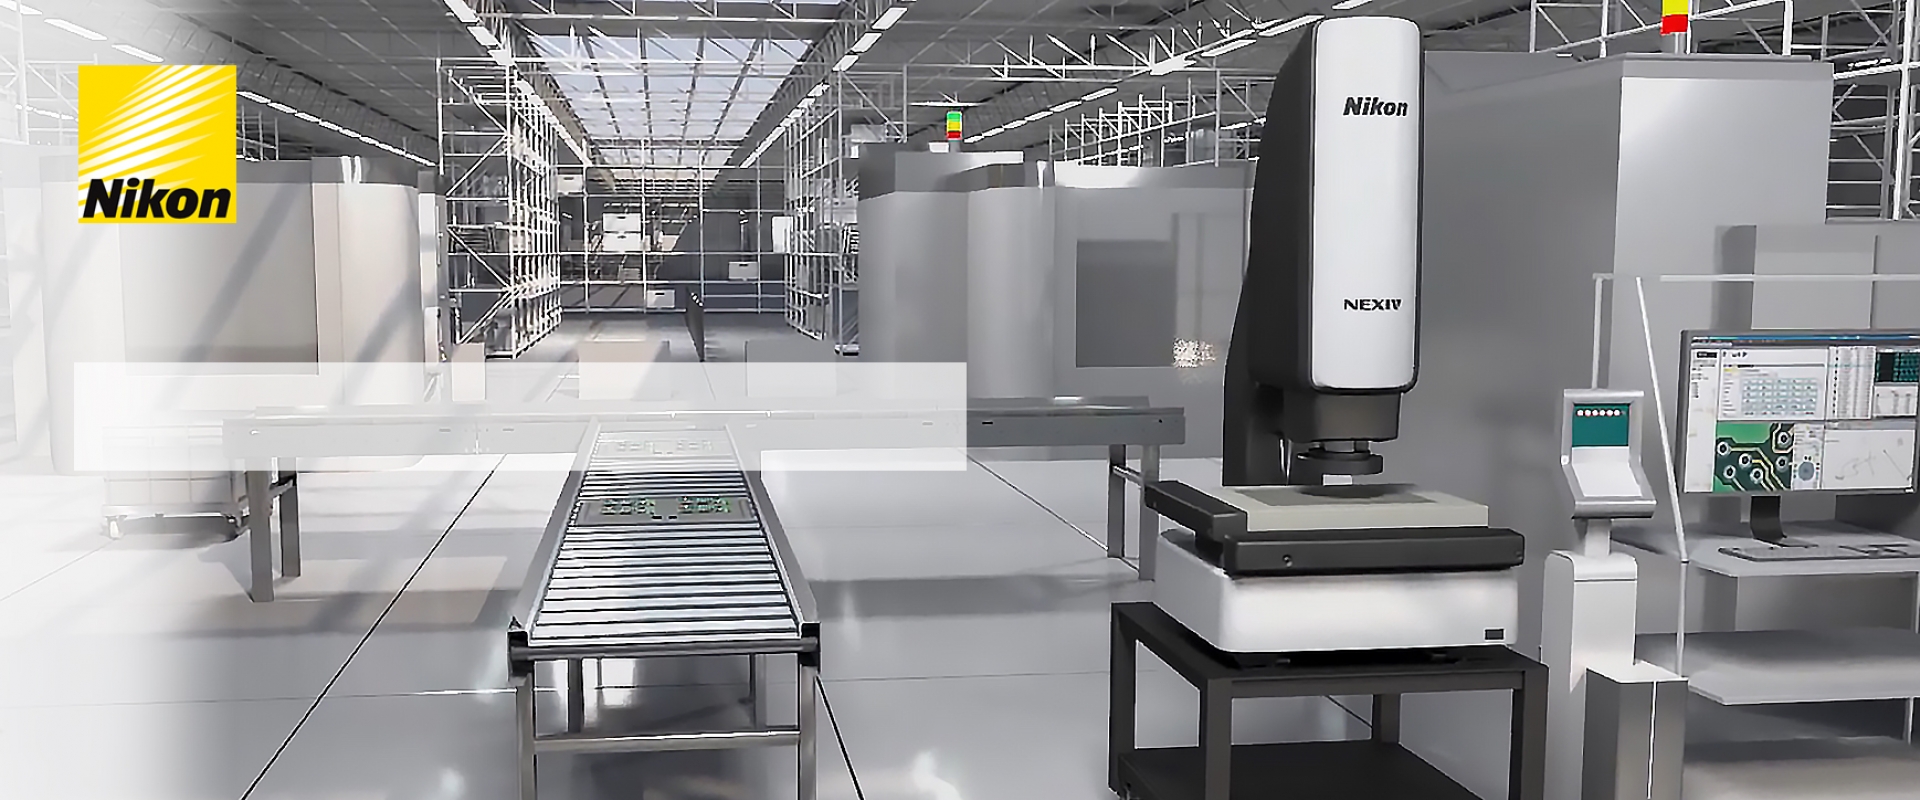
Industrial Instruments Division was established in 1985 and currently has become the distributor of instruments for precision measuring such as Nikon industrial microscopes and standard measuring instruments, various measuring instruments for manufacturing, quality controlling, research and testing, which are for improving the standard, efficiency and product quality.
Scientific Instruments Division was established in 1979 started distributing Nikon Microscopes which are world-wide recognized for both quality and reputation. Years later, we had expanded our scope of business until we covered the realm of research field, such as from Biological Microscopy to Confocal Microscopy, various supplementary instruments that could be optionally attached to our microscopes like image capturing systems for various laboratory research works, In-Vitro Fertilization (IVF), laser instruments for hatching and microdissection processes.
We are the leading of being professional in our specific field in order to offer the best quality service to our customers.
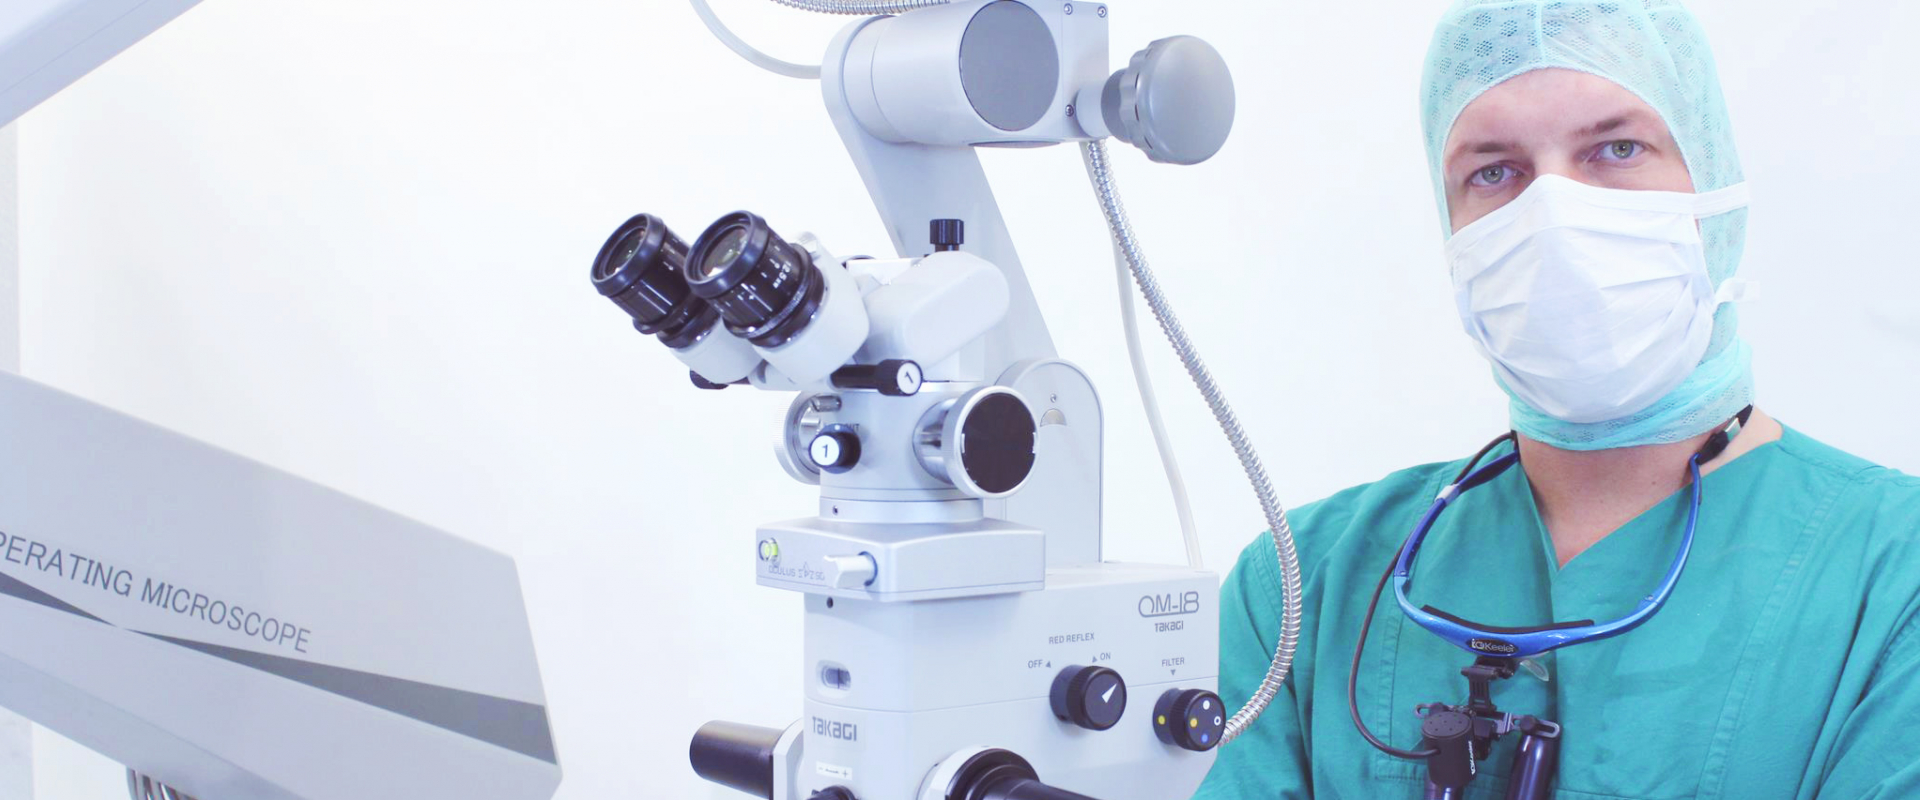
Medical/Ophthalmic Instruments Division started our professional business from 1975, when we were the pioneer who sought and introduced the computerized optometer (or known as Auto- Refractometer) with choice of both table type and portable type into Thailand. The Auto- Refractometer has been well recognized by hospitals and optic shops, which conduced to the steady growth of our division. Moreover, we have been applying for distributorship and importing various instruments from all over the world
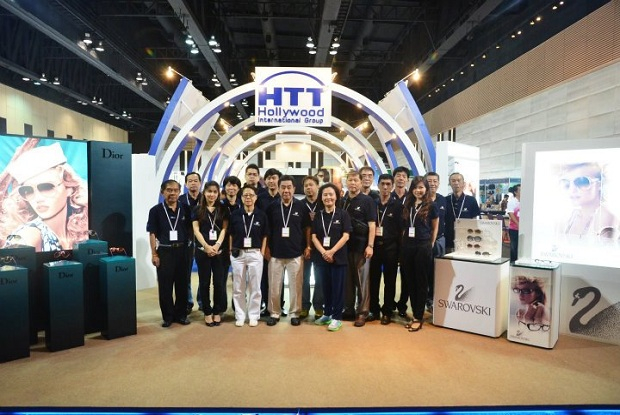
Spectacles : Initiative business unit of Hollywood International Group , established since 1982 as a leading exclusive distributor and marker of high quality sunglasses
and prescriptive frames. We manage a unique portfolio of distribution licensed brands selected according to their competitive positioning and prestige with careful customer segmentation and targeting.


