
iNEXIV VMA-2520
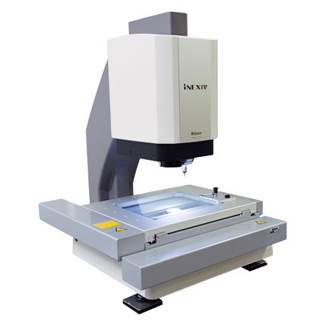
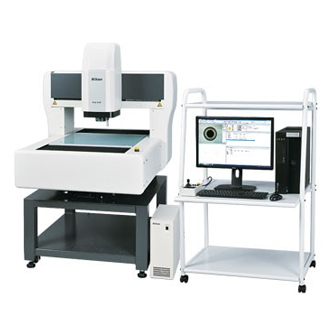
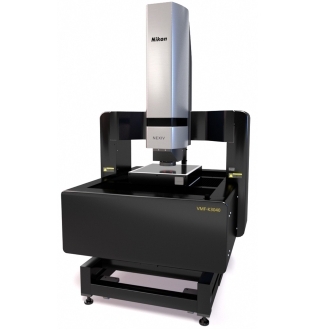
iNEXIV VMA-2520 - High-speed, high accuracy benchtop video measuring system.
 Designed to meet demanding manufacturing requirements with automated measurements of mechanical parts, electronic devices, dies & molds and medical devices.
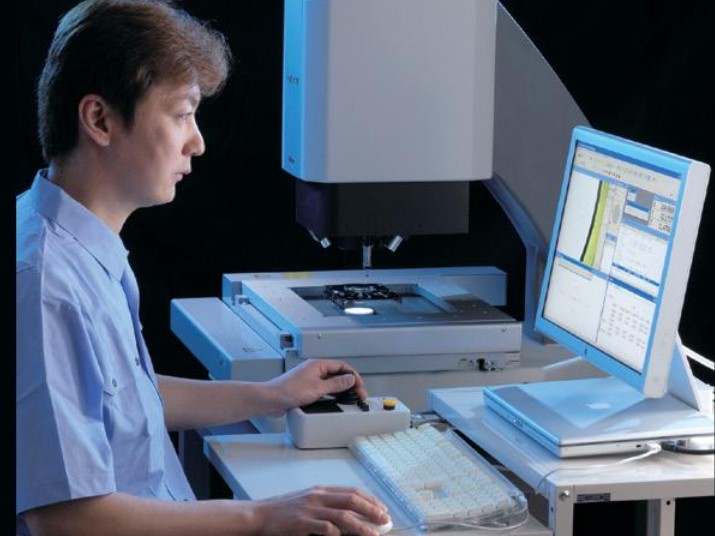
The iNEXIV VMA-2520 is a new multi-sensor measuring system that's lightweight and compact enough to be used in the factory on the bench top, with fast, fully automatic and high accuracy features that make it ideally suited for a wide variety of industrial measuring, inspection and quality control applications. The iNEXIV is designed to measure 3D workpieces, is touch probe ready, integrates the latest imaging processing software and incorporates a new 10x optical zoom system and Laser Auto Focus option.
Applications
- Surface analysis, Surface examination, Manual examination,
- Plastic manufacturing, Metal manufacturing
- Implants/ Protheses, Mobile phones, shavers & watches
- Micro-electronics, Opto-electronics
- Telecom & electronics, Antennae, Telescope optics
Easy and accurate measurements optimized for 3D parts
Nikon has drawn on its state-of-the-art digital technologies to produce a highly affordable automated measurement system. The iNEXIV VMA-2520's design is optimized for easy use as well as repeatable and accurate measurement of 3D parts.
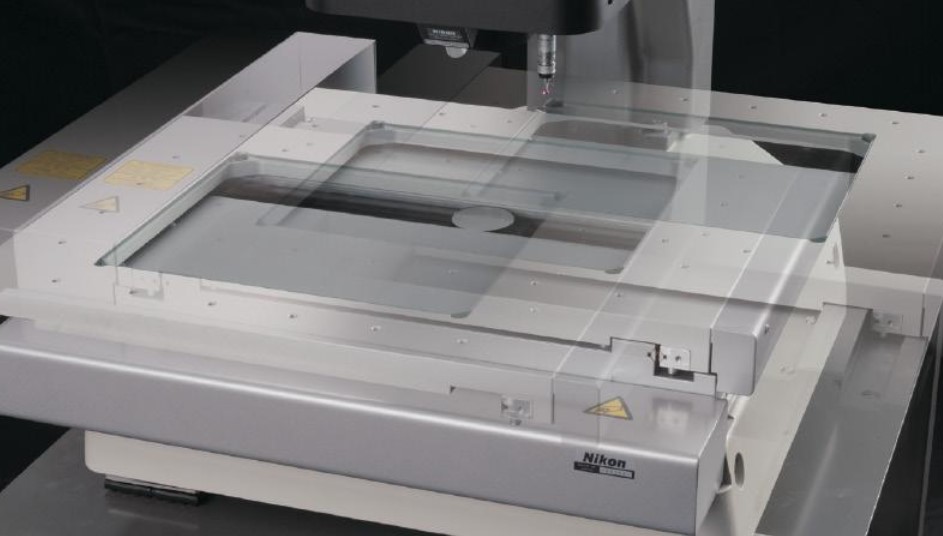 Compact and lightweight
The iNEXIV VMA-2520 is a powerful bench-top system designed to use minimum factory floor space. The main body has a footprint of only 565 W x 690 D x 740mm H (computer and controller separate) and weighs only 72kg (158.7 lb), yet it still has a 250 x 200 x 200mm measuring capability.
Long working distance
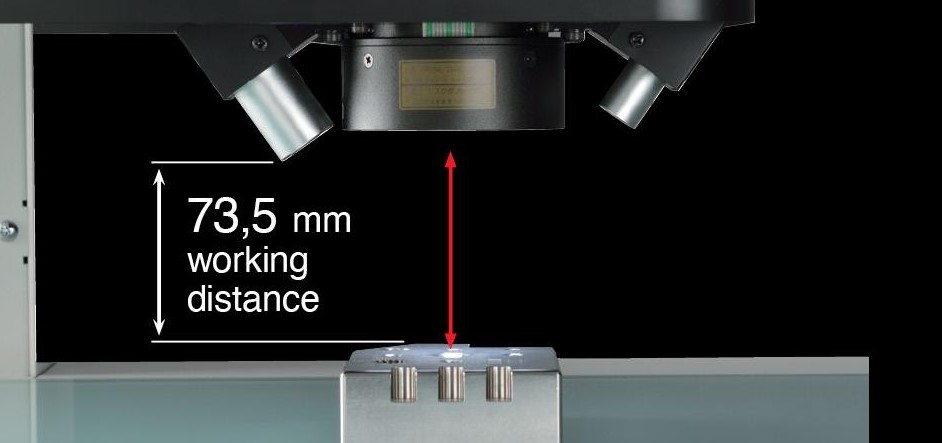
The newly developed optical system features a super long 73.5mm working distance for all magnifications. This allows sufficient three dimensional clearance for Z-axis measurements even at high magnification.
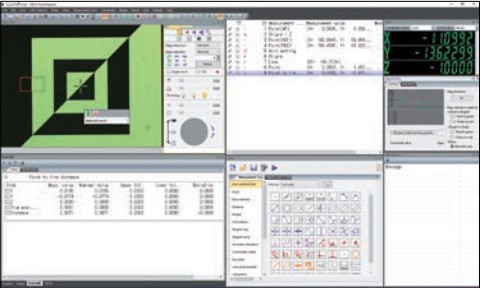
Powerful VMA AutoMeasure software
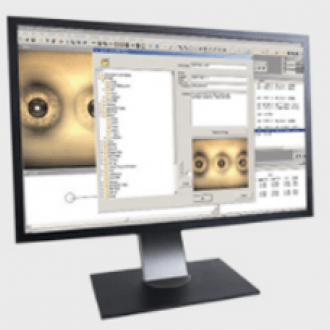
Automeasure is Nikon's powerful measuring software platform. It provides various functions to easily conduct tasks ranging from setup, teaching programs and measurements, to evaluations.
High-speed, highly-accurate Laser AF (optional)
In addition to the standard Vision AF, an optional high-speed Laser AF with a long 63mm working distance is available. It provides fast focusing and Z-axis measurements regardless of the surface shape of your workpiece.
Touch probing measurement (Optional)
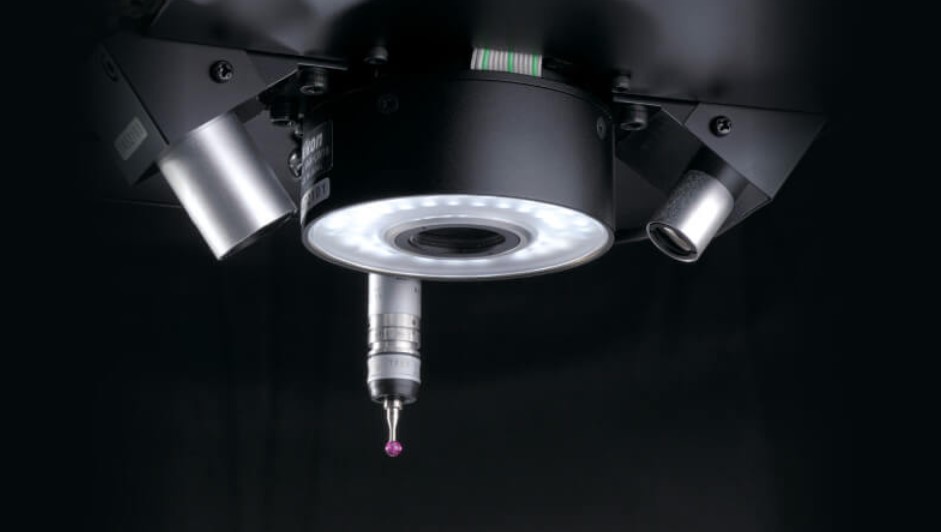
The iNEXIV VMA-2520 accepts the Renishaw TP20 or TP 200 Touch Probe system, making surface and side coordinate measurement of complicated 3D parts possible, in areas that vision sensing hardware could not be used.
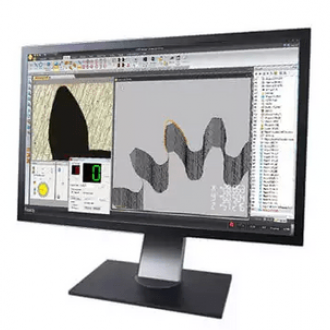
Users can take full advantage of the multi-sensor capability when installing CMM-Manager on the iNEXIV system. Main features are collision-free CAD-based path definition, virtual path simulation and accurate feature measurement for both tactile and vision probing.
| Stroke (X x Y x Z) | 250 x 200 x 200 mm (10 x 8 x 8”) |
|---|---|
| Minimum readout | 0.1 µm |
| Maximum workpiece weight | 15 kg (up to 5 kg accuracy guaranteed) |
| MPE * | XY MPEE1: 2+8L/1000 µm XY MPEE2: 3+8L/1000 µm Z MPEE1: 3+L/50 µm |
| Camera | 1/3-in. 3CCD color Progressive scan (B/W optional) |
| Working distance | 73.5 mm (63 mm with LAF) |
| Magnification | Optical: 0.35 to 3.5x On screen: 12 to 120x (with 17” monitor at SXGA resolution) |
| FOV size | 13.3 x 10 to 1.33 x 1 mm |
| Auto focus | Vision AF and optional Laser AF |
| Illumination | |
| Contour Illumination | White LED illumination |
| Surface Illumination | White LED illumination |
| Oblique Illumination | 8-segment white LED ring |
| Video resolution | 640 x 480 (pixels) |
| Touch probe | Renishaw® TP200/TP20 (option) |
| Power source | 100-240 V, 50/60 Hz |
| Power consumption | 5-2.5 A (excluding power consumption of host computer and its peripherals) |
| Dimensions & weight | |
| Main body (W x D x H) | 565 x 690 x 740 mm (minimum height), 72 kg |
| Controlle | 145 x 400 x 390 mm, 13 kg |
| Table for main body (option) | 600 x 700 x 825 mm, 38 kg |
| Recommended workbench | Min. load capacity 1000kg or more |
| Operational environment | |
| Temperature | 10 to 35ºC |
| Humidity | 70% or less |
Related Products
-
New
MA200 LED
-
New
LV150N LED
-
 New
NewH120 – High-Resolution Handhel…
-
 New
NewSLK25 Laser Scanner – High Acc…
-
 New
NewXC65Dx – Cross Laser Scanner f…
-
 New
NewLC15Dx – The Highest-Accuracy …
-
 New
NewL100NX CMM Laser Scanner
-
New
Digital Sight DS-100
-
 New
NewFM-LXR
-
 New
NewOPT SmartFlash-3020
-
 New
NewDigital Microscope Inspectis U…
-
 New
NewViTrox Smart Code Reader (XS S…
-
 New
NewViTrox Smart Camera (XC Series…
-
 New
NewV510i DST
-
 New
NewV510i ST
-
 New
NewPX730i : Die Sorting & Vision …
-
 New
NewWiX AI: Wafer Vision Inspectio…
-
 New
NewV510i AOI for Advanced Packagi…
-
 New
NewECLIPSE LV100N POL LED
-
 New
NewLV100NDA LED
-
 New
NewLV100ND LED
-
 Hot
HotMD830M-C Digital Camera
-
 New
NewMD830-C Digital Camera
-
 New
NewMC2000 Digital Camera
-
 New
NewMC500 Digital Camera
-
 New
NewJX 2000 All-in-one Microscope …
-
 New
NewDigital Sight DS-50M
-
 New
NewDigital Sight DS-10
-
 New
NewNew Evolution of Conformal Coa…
-
New
TMS2400 C Micro.View+ Compact
-
 New
NewNEXIV VMZ-NWL200
-
HANDYSURF+
-
3R-JFIBER Movable tip industri…
-
Inspectis U30S
-
 Hot
HotSMZ25 and SMZ18 Stereo zoom mi…
-
 New
NewV9i Final Inspection (FI)
-
 New
NewV9i Coating Inspection (CI)
-
V810i S2EX
-
V810i S2 XXL
-
V810i S2 XLW
-
V810i S2 XLT
-
V810i S2 XLL
-
 New
NewV810i S3
-
V510i DUO
-
V510i XXL
-
V510i 4.0
-
V510i XLW
-
V510i XL
-
V510i Optimus 3D
-
 New
NewV510i SE
-
 New
NewV510i Optimus 3D (for Advanced…
-
V310i SE
-
V310i XXL
-
V310i XL
-
V310i
-
 New
NewV310i Optimus (for Advanced Pa…
-
 New
NewTR1000Si
-
 New
NewTR3000i
-
 New
NewTH3000i
-
 New
NewVR20 Li
-
 New
NewVR20 i
-
 New
NewVR20i G2
-
 New
NewBottom Carrier Tape Inspection
-
 New
NewTape Seal Inspection
-
 New
NewIn-Pocket Inspection
-
 New
New3D & 5 Sided Inspection
-
 New
NewMark, Lead & Package Inspectio…
-
 New
NewOrientation Inspection
-
 Hot
HotNEXIV VMZ-S3020
-
 Hot
HotEDF/Stitching Express - Softwa…
-
 Hot
HotXT V 130C
-
 Hot
HotXT H 225 | Computed Tomography…
-
MCT225
-
SMZ445 & SMZ460 Stereoscopic Z…
-
 Hot
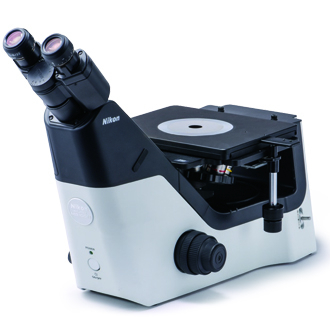
HotEclipse MA100N
-
Fiber Composite Material Analy…
-

The Extended Porosity/Inclusio…
-
 New
NewTmetric C20 3D camera
-
MAXIMA
-
CMM - CAMIO Software
-
 Hot
HotNEXIV VMZ-S4540
-
 Hot
HotNEXIV VMZ-S6555
-
 Hot
HotiNEXIV VMA-2520
-
 Hot
HotiNEXIV VMA-4540
-
 Hot
HotiNEXIV VMA-6555
-
 New
NewMountain Map - Software
-
 New
New3D CAD Converter - Software
-
 New
NewMapMeasure Pro - Software
-
 New
NewImageFit QC- Software
-
Custom Fit - Software
-
PolyWorks | Modeler
-
 New
NewPolyWorks | ReportLoop
-

PolyWorks | AR
-
 Hot
HotNIS Software
-
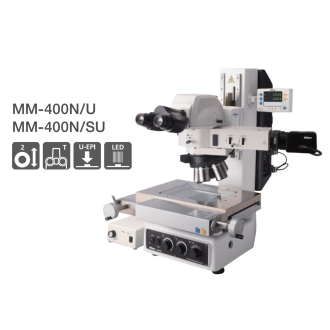 Hot
HotMeasuring Microscope (MM-400)
-
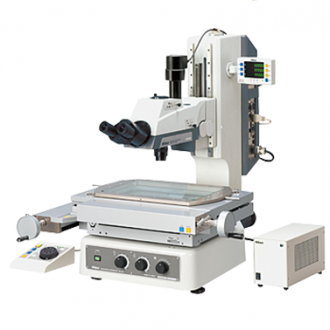 Hot
HotMeasuring Microscope (MM-800)
-
 Hot
HotE-Max software (DS-Type )
-
 New
NewCustom Create
-
Data Processor (DP-E1A)
-
 New
NewPolyWorks | PMI+Loop
-

PolyWorks | Talisman
-

PolyWorks | DataLoop
-
The Simple Solution for the Vi…
-
V-12B - 12" vertical optical c…
-
 Hot
HotExtended Depth of Focus (EDF) …
-
 Hot
HotTMS 2400
-
 Hot
HotPolyWorks | Inspector
-
 Hot
HotTMS 1400
-
 New
NewSURFCOM NEX
-
SURFCOM CREST DX/SD
-
CONTOURECORD 1600G
-
Wall Thickness analysis with V…
-
FM Series
-
FV Series
-
FLV Series
-
FT-ZERO ARS-F SYSTEM
-
 New
NewFR-XA
-
FR-X Series
-
LC-200R Series
-
FB-3000LC
-
 New
NewFTC-AS Series
-
 New
NewFTC-ASL Series
-

FTC-B255FS
-
FTC-D150A
-
 New
NewFTM-AX
-
FTM-EVO
-
FTP-1AH
-
 New
NewFTP-AX Series
-
 New
NewFTP-MX Series
-
CUTTING WHEEL
-
HOT MOUNTING COMPOUNDS
-
SILICON CABIDE ABRASIVE PAPERS
-
EZ-DISK and MANETIC BASE FOR S…
-
WATER BASE DIAMOND SLURRIES, M…
-
HIGH PURITY ALUMINA (99.9%) an…
-
POLISHING CLOTHS
-
Photonic Fiber Optics Illumina…
-
Loupe
-
Dial Test Indicators
-
Signal Gauge SC-2A
-
Signal Gauge S-9
-
Signal Gauge S-7
-
Signal Gauge S-5
-
DIGITAL GAUGES -D/DL type
-
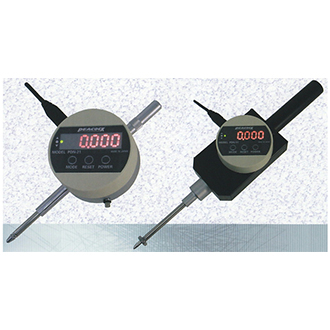
DIGITAL GAUGES -PND Type
-
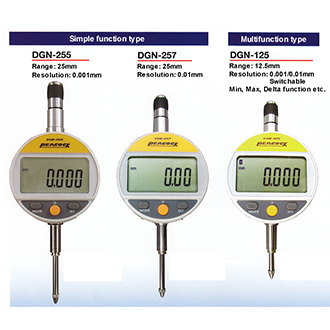
DIGITAL GAUGES -DG type
-
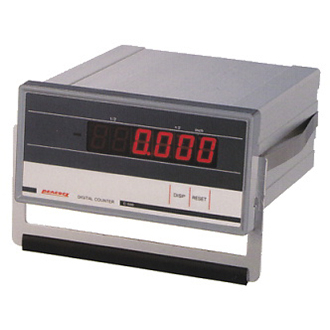
Digital Counters
-
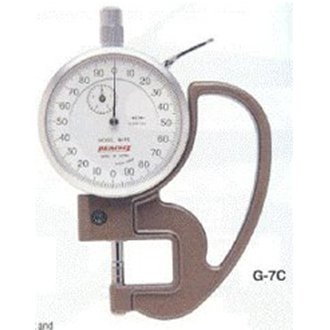
Dial Thickness Gauges
-
Dial Indicators
-
DIAL GAUGE STANDS & MAGNETIC S…
-
CALIPER GUAGE
-
HAYASHI_Korin KDR6142
-
HAYASHI LP-120 + HDR61WJ
-
TESTING STAND_M Series
-
TESTING STAND_K Series
-
TESTING STAND_KS-504H
-
TESTING STAND_KS-501H
-
TESTING STAND_KS-501E
-
PUSH-PULL GAUGES_MPC series
-
PUSH-PULL GAUGES_MPL series
-
PUSH-PULL GAUGES_MPS series
-
PUSH-PULL GAUGES_MP series
-
PUSH-PULL GAUGES_AP series
-
DIGITAL TORUGE CHECKER_DTC SER…
-
DIGITAL TORUGE CHECKER_ADT-C S…
-
DIGITAL FORCE GUAGES - ARFS SE…
-
DIGITAL FORCE GUAGES - ARF SER…
-
Cylinder Gauges
-
 New
NewALTERA C
-
 Hot
HotMicrendo Series
-
V20B - Large capacity vertical…
-
 Hot
HotFlexiVision 100
-

Nominal/Actual Comparison with…
-
SMZ745 & SMZ745T Stereoscopic …
-
 Hot
HotFlexilux Universal Borescope S…
-
 Hot
HotFiberscope Series
-
 Hot
HotEzyScope
-
 Hot
HotMotorized Stepper Stage For In…
-
Quadra-Check Series
-
 Hot
HotMotorised Stepper Stage For Up…
-
 Hot
HotPro Scan lll
-
Large Sample Non Contact Profi…
-
 Hot
HotNon Contact Flatness Measureme…
-
 Hot
HotNon Contact Flatness Measureme…
-
RONDCOM NEX Rs α
-

PolyWorks | Reviewer
-
 Hot
HotEclipse MA200
-
 Hot
HotVGStudioMax Software
-
 New
NewDigital Sight 1000
-
The Free Viewer App for Your 3…
-
Reverse Engineering with VGStu…
-

Coordinate Measurement Module …
-
 New
NewNew X-ray CT system with enhan…
-
 Hot
HotXT V 160
-
 Hot
HotE-MAX D Type
-
 Hot
HotStereo Microscope (Paralell) S…
-
 New
NewNEXIV VMF-K6555
-
NEXIV VMZ-H3030
-
 Hot
HotALTERA S
-
SMZ-2 Stereoscopic Zoom Micros…
-
 Hot
HotPorosity/Inclusion Analysis wi…
-
SCANTEK5
-
 Hot
HotData processor (DP-E1A)
-
APDIS MV4x0 Laser Radar
-
 Hot
HotALTERA M
-
 New
NewWELDinspect 4K
-
 New
NewBGA Inspection System
-
Digimicro MF-501
-
 Hot
HotEclipse LV150N
-
Eclipse LV100ND
-
Eclipse LV100N POL
-
Eclipse L200N Series
-
Eclipse L300N Series
-
Digimicro MF-1001
-
 Hot
HotNEXIV AutoMeasure Software
-
 New
NewCMM-Manager for iNEXIV Softwar…
-
DIGITAL FORCE GUAGES - ARF ser…
-
 New
NewNEXIV Remote Control SDK
-
TOUCH50
-
ALTERA SL
-
 New
NewNEXIV VMF-K3020


